HOW TO PLAY
3. Setup
Setup checklist: mahjong set, a table to play on, 4 people, and snacks!
For a quick start visual reference on table setup and drawing your tiles, check out this diagram and keep the page open while you play.
The ideal table to play on is square.
If you have a mahjong table - even better!
If you’re using a makeshift square or circle table - put down a tablecloth or blanket (see photo!). This will help protect your tiles and cut down on noise when people slam tiles on the table out of joy or frustration!
And don’t forget to place beverages and snacks within reach, but never on the playing table.
Setting Up the Table
Check out that table-protective blanket!
My aunts and great-aunts settling into a game, while my great-uncle looks on. Photo circa 1985.
The game starts before you even sit down.
It’s kind of like the opening ceremony for your game. Assigning seats is the first decision that will set the course for your evening.
Assigning Seats
1. Stack wind tiles. Standing around the table, one player (usually the host) picks one of each wind tile (E,S,W,N), mixes them face down on the table, then stacks them in a tower.
2. Throw the dice. Based on the number rolled, starting with the host, count around the table going counter clockwise to determine who matches the combined number rolled and will pick first from the top of the tower. The remaining tiles are then picked, in counter-clockwise order.
3. Players reveal their wind tiles. The player who picked EAST gets to choose their seat first. This will be their chair for the rest of the game. SOUTH will sit to their right, WEST across from East, and NORTH to their left.
HOT TIP
Seating is strategic because it can immediately help you size up the competition. If you’re seated to the right of a more experienced player, it’s likely they will pay closer attention to what tiles you’re collecting and discarding, which could make it harder for you to win hands. If you’re seated to the right of a newbie, they might be so focused on figuring out their own hand that it could give you an advantage to collect the tiles you need.
According to my father, my grandmother always liked to be seated to the right of amateurs (ahem…her grandkids) in case we slipped up and played right into her hand.
Building the Walls
1. Wash the tiles. Mix all 136 tiles face down around the table. This is the equivalent to a group-shuffling of the deck.
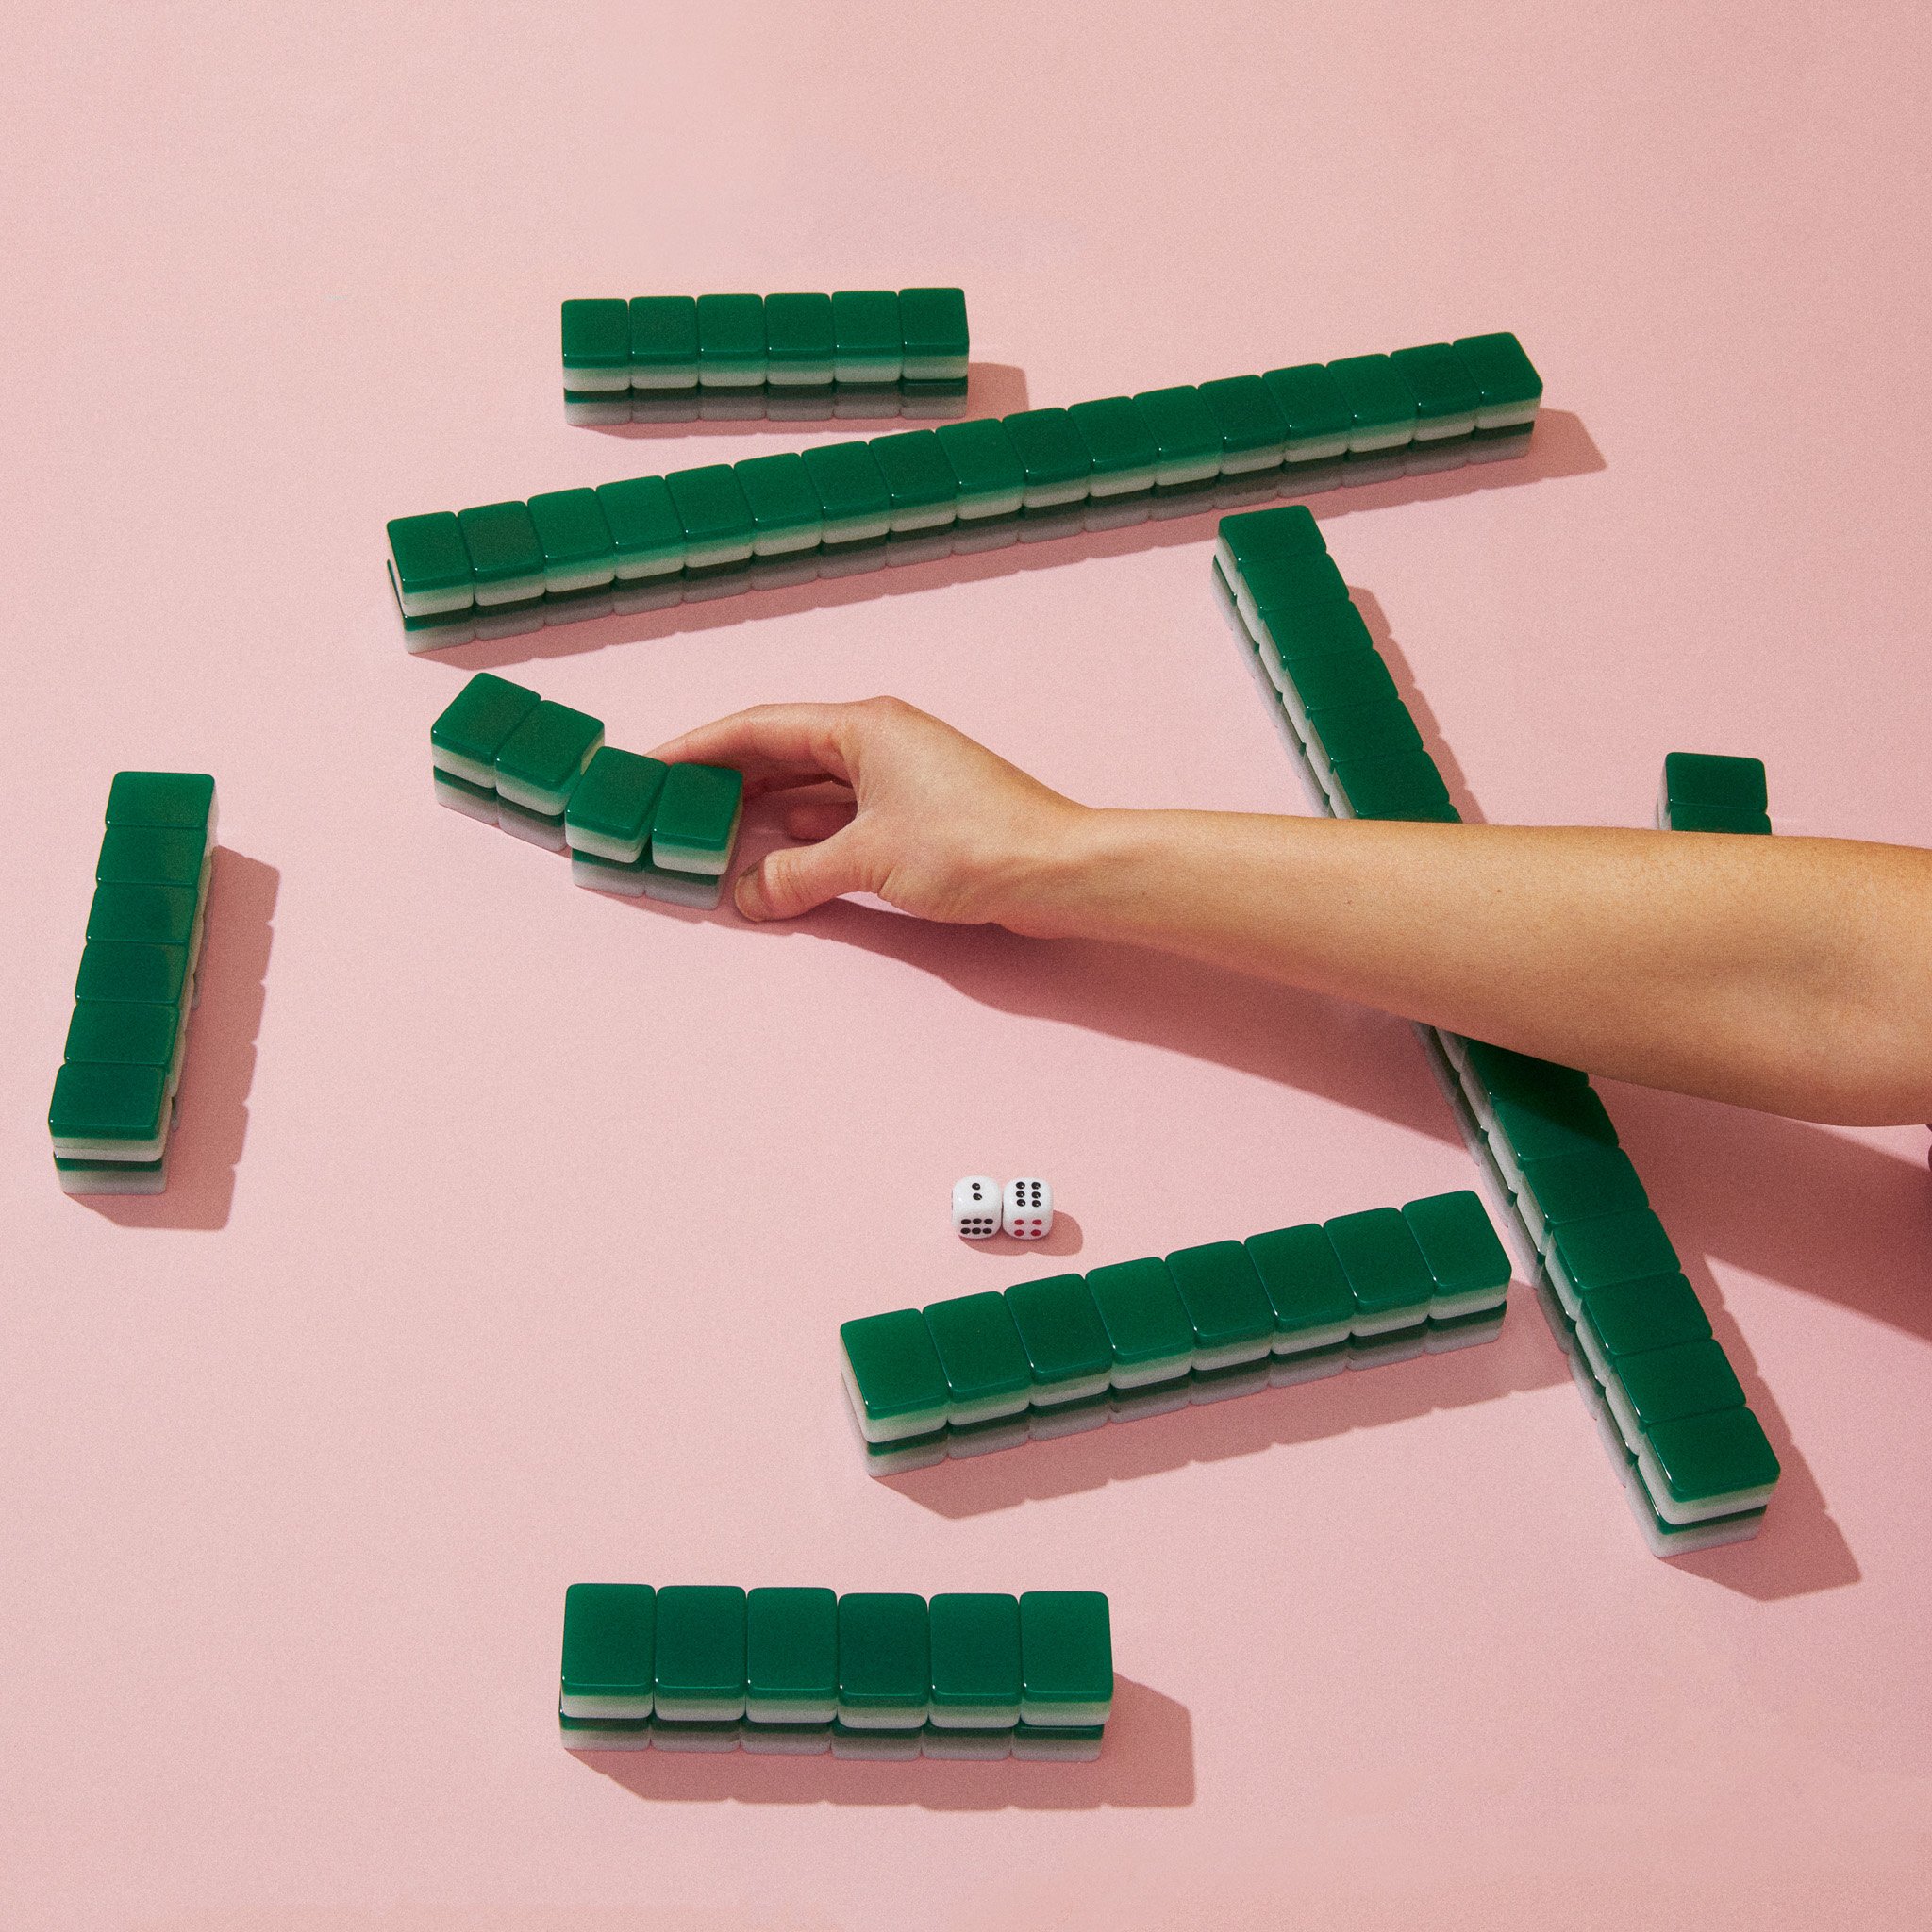
2. Build the walls. Arrange the tiles in 4 walls of 17 tiles each, stacked two tiles high. If you’re using the optional flower tiles, then its 18 tiles per row. The right end of the wall is the “inner corner” of the wall and placed as shown.
HOT TIP
A fancy trick and point of pride is to try to get the entire second row stacked on top of the first in one go - it takes some hand dexterity and practice!
Drawing Your Tiles
1. The Starting Banker. The player who drew the East tile when assigning seats throws the two dice into the center of the walls. Starting with themself and going counter-clockwise, count around the table, up to the combined dice number. The player who the count lands on will be the first EAST SEAT and STARTING BANKER. In the first hand of the game they will be known as Double East (i.e. East round, East seat).
2. Opening the gate. Looking at the wall in front of the Banker, and starting from the right-hand side of the stack (inner corner), count the number of tiles to the left - using the same number shown on the dice. This is where the Banker will “open the gate.”
**For subsequent hands, the Banker will always be the one to roll the dice and count around the table, then count the number of tiles to the left.
3. Taking tiles. Once the starting point has been identified, the Banker starts the deal by taking four tiles (two stacks of two) immediately beyond the break point. Each of the other players do likewise in turn (South, West, North). Thus, the walls are dismantled clockwise, while players take turns going counter-clockwise.
4. Repeat. The procedure is repeated three times until each player has 12 tiles.
5. The Jump. Next, the Banker takes two additional tiles in a move known as “the jump.” Take one from the top of the next stack, skipping the stack of two next to it, and taking the top tile on the third stack (see picture).
6. Ready to Play. The other players each take one more tile in turn.
Therefore, the Banker starts with 14 tiles, and everyone else has 13. This is because the Banker will discard one tile as their first turn.
HOT TIP
Tiles are kept concealed from the other players by standing them upright directly in front of each player.
But if it’s your first time playing, you may want to play an open hand and help each other out.
It’s pretty common to organize the tiles by suit, and then in number order, with winds and dragons grouped together.


